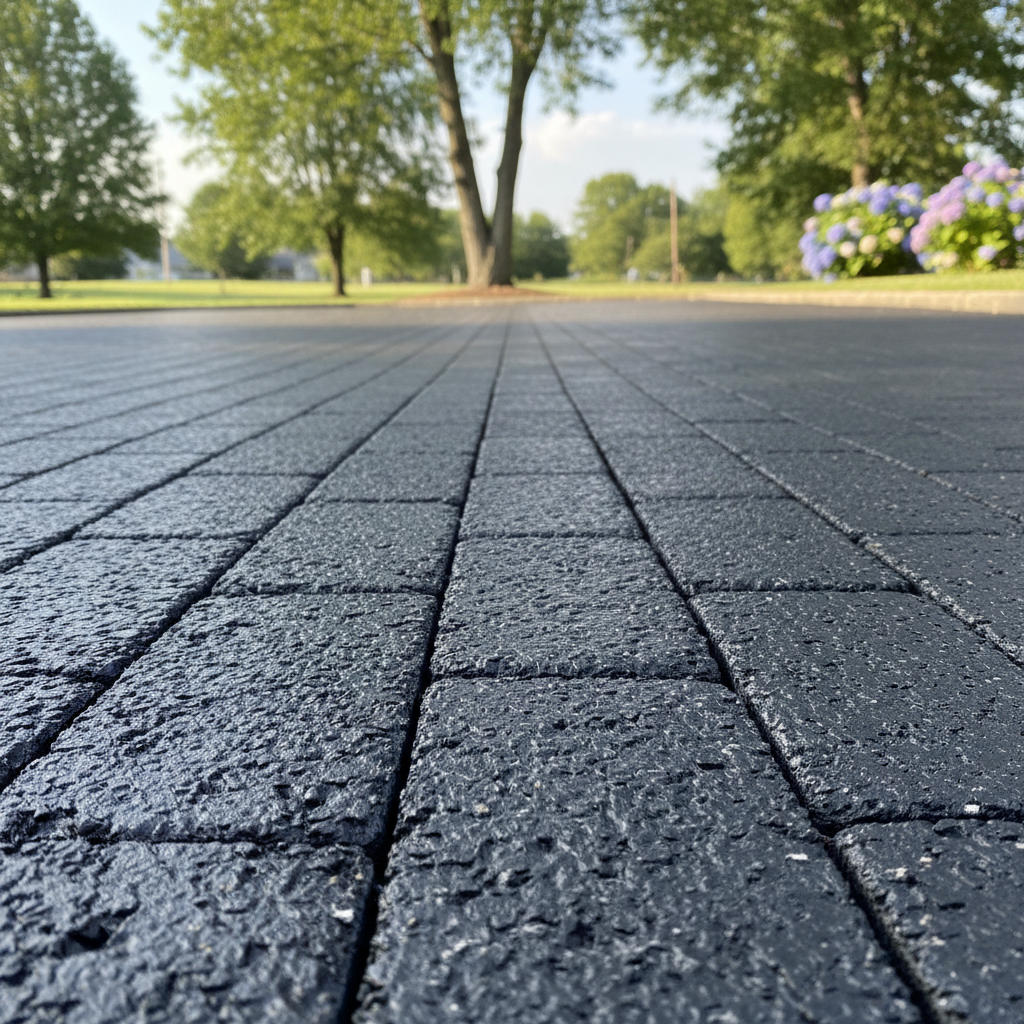
Got a parking area that's seen better days? Or maybe you're finally ready to pave over that gravel spot next to the garage? This is a pretty common project for homeowners, and I get a lot of questions about what folks can realistically tackle themselves versus when it's time to call in a professional like us at Absolute Asphalt Co. Let's talk it through.
Before You Start: Planning and Prep
First things first, whether you're doing it yourself or hiring someone, you've got to plan. Seriously, don't just start digging. Think about drainage – this is huge, especially with how much rain we get here in Louisville. You definitely don't want water pooling up against your foundation or turning your brand new parking area into a pond. You'll need a slight slope, usually about 1-2% grade, to send water away. Where's it going to go? Into a drain, off into the yard, or maybe towards the street?
Next, consider what's underneath. If you're paving over an existing gravel area, that's one thing. If it's just dirt, well, you've got more work ahead of you. You'll need to dig out the area to the right depth. For a typical residential parking pad, you're usually looking at 6-8 inches of compacted aggregate base, plus 2-3 inches of asphalt. So, yeah, you're digging down almost a foot. That's a lot of dirt to move, isn't it?
Here's what you can probably handle yourself in this phase:
- Measuring and marking: Use stakes and string to lay out your area.
- Basic clearing: Get rid of weeds, small shrubs, or loose debris.
- Initial grading: If your area is fairly flat and you've got a good eye, you can start to establish that slope with a shovel and rake.
What you should probably call a pro for:
- Significant excavation: If you're moving cubic yards of soil, especially if you hit a lot of that dense clay common around areas like the Highlands or St. Matthews, renting heavy equipment and knowing how to operate it safely is key. A pro has the right gear and the experience to use it.
- Complex drainage solutions: Installing catch basins, French drains, or tying into existing storm drains isn't a DIY job for most folks.
- Permits: Depending on the size and location, you might need a permit from the city or county. A good contractor will know the local requirements, no problem.
During the Project: Base and Paving
This is where the rubber meets the road, literally. The base layer is absolutely critical. It's what supports the asphalt and keeps it from cracking and sinking. You need a good, dense, compacted aggregate base. We're talking crushed limestone or gravel, spread evenly and compacted in layers.
For a DIYer, you can spread gravel with a rake and shovel. You can even rent a plate compactor from a local equipment rental place. It's hard work, but doable for smaller areas. You'll need to make sure each layer is properly watered and compacted. If you skip this step or do it poorly, your asphalt just won't last.
Now, for the asphalt itself. This is almost always where you call in the professionals. Here's why:
- Hot mix asphalt: It arrives hot, usually around 300 degrees Fahrenheit. It cools fast, and you have a very limited window to spread and compact it. You need specialized equipment – a paver and rollers – to get a smooth, even finish. Trying to do this by hand with shovels and rakes for anything larger than a small patch is a recipe for disaster. You'll end up with an uneven, lumpy surface that won't drain right and will fail quickly.
- Equipment: Paving machines are expensive, and they need skilled operators. Rollers are heavy and have to be used correctly to achieve proper compaction.
- Expertise: Knowing the right thickness, how to join seams, and how to get the correct crown or slope for drainage comes from years of experience.
Sure, there are cold patch asphalt products available at home improvement stores. These are fine for small, temporary repairs to potholes in an existing asphalt surface, but they are NOT suitable for creating a new parking lot or even a large patch. They just don't compact or bind like hot mix asphalt and won't hold up to regular vehicle traffic.
After the Paving: Curing and Maintenance
Once the asphalt is down, whether you did it or we did, you've got to let it cure. Don't drive on it immediately. Typically, you'll want to stay off it for at least 24-48 hours, sometimes longer if it's a really hot day. The asphalt is still soft and can be easily damaged by turning wheels or heavy loads. Give it a few weeks before parking heavy RVs or trailers on it.
Maintenance is key to making your new parking area last. Here's what you should do:
- Keep it clean: Sweep off dirt, leaves, and debris regularly. This prevents organic matter from breaking down on the surface and causing issues.
- Sealcoating: This is a protective layer that extends the life of your asphalt. It protects against UV rays, water, and chemicals like oil and gas. For a new residential parking area, you'll typically want to sealcoat it about 6-12 months after installation, and then every 2-3 years after that. You can buy sealcoat and apply it yourself for smaller areas, but it's messy work and getting an even coat can be tricky. For larger areas, it's often worth hiring a pro.
- Repair cracks quickly: Don't let small cracks turn into big potholes. Use asphalt crack filler as soon as you spot them. This stops water from getting under the asphalt and eroding the base.
Look, I'm all for DIY where it makes sense. For a small gravel pad, or patching a minor crack, go for it. But for a proper, durable asphalt parking lot that's going to last you years and add value to your home, you really need to bring in the pros. We've got the equipment, the crew, and the know-how to get it done right the first time. Give Absolute Asphalt Co. a call if you're ready to talk about your project.